Saturday, November 19, 2011


Heirloom Infant gown 
Smocking half completed on chiffon overlay

Thursday, November 17, 2011

Good Morning!  Posted some new photos of recent work onto the Slideshow shown below to the left.  Enjoy!

Friday, October 28, 2011


Pride of the Prairie
AQS Des Moines

Interesting quilting motif

Love this!

Wednesday, October 19, 2011

A Few More Photos
AQS Des Moines
Roses

Thread Painting


I love this one!

Monday, October 17, 2011

Whew!  Busy day - made some changes in the studio - organized my fabric stash by hue and value -- hoping to complete an art quilt this week (Yeah, I know - crazy)  Meanwhile...

A Few Photos of Some of My Favorite Quilts 
From AQS Des Moines


(Yes, that is me looking at the quilting for ideas for my own quilting jobs)


Friday, October 14, 2011


Here is a picture of the Jumbo Glam Bag -- This will be our next Daisy project!  It is a good sized purse. It would make some of your more fashion conscious friends and family a wonderful Christmas gift!  Please read yesterday evening's post for instructions how to obtain the copyrighted pattern.  We will be beginning this project later next week so you have plenty of time to send for the pattern.  As I mentioned last evening, due to this being a copyrighted pattern,  I cannot give dimensions or any identifying portions of the pattern.  You WILL need the pattern to be able to do the Daisy project.  I will be showing the steps pictorially, but will not be able to provide the important info like cutting out dimensions, etc.  Hope you are excited to join us on our Daisy project #3!!

Thursday, October 13, 2011

Daisy Project #3
Jumbo Glam Bag

Just to give you a "head's up" - You will need to obtain the pattern for the bag from Tiny Seamstress Designs by Tiffany Jenkins at tinyseamstress@yahoo.com 

It is called Jumbo Glam Bag -  I cannot give you the dimensions and info because this is a copyrighted pattern.  However, I will be presenting the step by step photo instructions.  Tiny Seamstress has a blog  http://tinyseamstress.blogspot.com  

Here's the fabric I've selected for the Jumbo Glam Bag!!  


Daisy Project #2
Insulated Food Carrier
Part 5

Part 5 will conclude our instructions for the Insulated Food Carrier.

By now, you will have finished all the binding around the flap section piece and all the binding around the handle section piece EXCEPT for the handle cut out area.  This part of the instructions will discuss the 2 step process you need to use to finish off the rough edges by the handle area.  

  • As you notice above - the dowel will slide into the little slot that you create by sewing binding to the dowel pocket area.  First, you will separate the the layers so that only 1 layer of fabric attached to the Insul-Bright is separated from the other layer of fabric attached to the opposite piece of Insul-Bright.  By doing this you can see that you will have an area for the dowel to slip into on both the left and right sides of the handle-cutout area. 


  • When attaching the binding to the edges (the same way as before), you will need to sew the binding to the handle area by hand with a needle and thread.  Trying to sew this small area by using your sewing machine will be too difficult.  When you've finished attaching the binding around the edge of the "dowel pocket" area, you will then fold it over the seam allowance and hemstitch it so as to cover the seam allowance and make the nice finished edge.  
  • If you click on the picture above, it will enlarge the picture and you will be able to see that the lower edge is finished last and is a separate piece of binding.  You will need to also sew that area with needle and thread as opposed to sewing machine work.  When you come to the corners, you will need to bring the binding up into and from the lower corner to finish off the raw edges left from the "dowel pocket" binding.  I just folded over the top edge and worked the binding inside the corner and pulled the binding and hemstitched the edges to hide the raw edges left from the "dowel pocket" binding.  It is a bit tricky, but just hemstitch it stitch by stitch...


  • If you click on the picture, it will enlarge and you can see the arrows and instructions explaining how to tack the two parts of the insulated carrier together.
  • After all of this is completed, you can place your dowels (each should be cut to 14" long) inside the dowel pockets on each side of the handle section.  If you like, to make the dowel stay in place, you can tack together the edges of the pocket, just below where the dowel is inserted into the pocket.  Or, if you prefer, you can sew snaps in place, so that you can remove the dowel when laundering.

Tuesday, October 11, 2011

I made 2 cards in Fall color fabrics. Cute!!  Check out this tutorial

http://craftapple.wordpress.com/2006/08/23/quilted-cards-tutorial/#comment-24936

Daisy Project #2
Part 4

Review of mitered corner stitching
Sew to the corner, lift needle, cut threads
Move the "dog ear" over
Start sewing from the corner (see instructions below)


  • As shown above, just to make sure the mitered corners work out well, by way of review - note that when sewing the seam AFTER you've basted it, sew only to the corner and STOP - raising the needle and cutting the threads. .  
  • Then move the "dog ear" over, and put the needle down into the fabric at the point where it is just beyond the "dog ear" multi-layer area.   (as shown in the picture above)  
  • Go ahead and sew that seam doing the same thing when you come to the next corner.  
  • REMEMBER TO LEAVE THE UNSTITCHED AREA AND TWO BINDING TAILS AS INSTRUCTED IN PART 3.   
  • ALSO, FOR THE HANDLE AREA - LEAVE BOTH HANDLE AREA ENDS TO BE COMPLETED LATER WITH BINDING.   (You can set aside the handle section piece after you've finished the binding around all edges EXCEPT the cut-out handle portion)

After basting and sewing the binding on the flap section piece, you should now have the open area and the 2 binding tails that look something like the picture above.   


To finish off binding on any project, including quilts or table toppers, or wall hangings, the above tool is a handy dandy tool to have.  It is worth every cent I paid for it.  I think I bought it from JoAnn's using one of their 50% off coupons.  If you do not yet receive JoAnn flyers through the mail, I strongly recommend you sign up for them the next time you are in the store.  The coupons really help when trying to build your repertoire of notions and tools.

  • If you remember in Part 3, we mentioned that you needed to leave a 10 to 12 inch section of the binding un-sewed (leaving the 2 binding tails for working with later).  
  • Lay out your flap section like the picture above.  
  • First we will be working with the RIGHT binding piece.  
  • Lay the right binding piece along the edge of the flap section as shown above.  
  • Using a tape measure, measure the open un-sewed area to find the CENTER.  
  • You will CUT the right binding tail at the CENTER of the open un-sewed space so that it ends at the center of the opening.


Next, you will lay the binding tool over the RIGHT binding tail.  Pay special attention that the arrow in pointed to the right and looks like the picture above.

Now, lay the LEFT binding tail OVER the binding tool and fold-back the strip AT the 2 1/2 inch line (because our strips were 2 1/2 inches wide)  

Cut the LEFT binding strip at the fold as shown above.


The next segment is tricky... Open out left binding strip so right side is facing UP.  Open out right binding strip and place RIGHT SIDES together with the left binding strip.  Position end of right strip along top edge of left strip.  NOTICE: BINDING PIECES WILL BE RIGHT SIDES TOGETHER AND AT A RIGHT ANGLE TO EACH OTHER.

  • Looking at the picture above, lay the binding tool along the pinned edge so that the corner point of the binding tool at the lower left (see picture) is at the point where the two binding strips start to overlap.
  •   Line up the diagonal line on the binding tool at the edge of the overlapped fabrics.  
  • Next, you will need your marking pen or chalk to mark a line along the lower edge of the binding tool.

Mark along the edge onto the fabric from corner to corner of the overlapping area as shown above.

NOTE: I LIKE TO PIN ALONG THAT LINE (NO PICTURE TO SHOW) AS A "FAKE" SEAM TO TEST TO MAKE SURE THAT THE FINAL BINDING RESULT WILL NOT BE TWISTED.  IT IS VERY EASY TO MAKE A MISTAKE AND DISCOVER THAT THE BINDING IS TWISTED AFTER YOU'VE SEWN IT.  THIS LITTLE "DOUBLE-CHECK" EFFORT MAY SAVE YOU GRIEF AS IT HAS ME SEVERAL TIMES.

 
After making sure everything is correct, sew the seam.  You will find it will be a bit awkward and you will need to stop (with the needle down into the fabric)  periodically throughout while sewing this seam to make sure everything is lined up accurately and not pulling off in one direction or the other.  The point is to sew from point to point along that line IN A STRAIGHT LINE.  


Trim away the outer triangle of fabric leaving about a quarter inch seam.  Press the seam open with your iron.


When you are done with those steps, it should look like this (see above)  Presto!!  It is exactly the right length. 

 
Pin your seam and sew this final length of binding to the flap piece.  You will probably need to trim around the edge to make everything straight and square.  Now you are ready to hand-stitch the binding by folding it over and using a "hem stitch" to hide all of the outer seam allowances.  Good hand work can be done in the evening while watching TV : )

Monday, October 10, 2011

Daisy Project #2
Insulated Food Carrier
Part 3

Quilting instructions and attaching binding to both the handle section and the flap section will be covered in Part 3.  (Quilting the food carrier is optional.  I prefer to quilt the fabric "sandwich" together)

IMPORTANT NOTE:  WHEN WORKING TO QUILT THE HANDLE SECTION OF YOUR FOOD CARRIER YOU WILL NOT QUILT ALL OF THE FABRIC !!  PLEASE NOTE THAT THE FINISHED SECTION WILL LOOK LIKE THIS:  YOU WILL NEED TO MEASURE ONE INCH DOWN FROM THE CUT-OUT SECTION AND QUILT ACROSS IN A STRAIGHT LINE.  (Use your ruler to mark the line with chalk)   Then for the remainder of the quilting, you will use the instructions below:


To begin quilting both pieces of fabric, using an Omnigrid ruler, find the 45 degree angle line.  In this picture, you will see that it is traveling from the lower left quadrant of the picture upwards through the picture to the upper right quadrant.   

Now, you will line up that 45 degree line with the edge of the fabric "sandwich".  


Using a chalk marker, or other marker of your choice (you will need to be able to remove the lines later.  Chalk is my favorite because it dusts off easily with a damp cloth) mark the line that is created along the edge of the ruler.

This makes your first 45 degree line.  You will use this line to mark additional lines all across both the handle section and the flap section of the insulated food carrier.  


Next, you will line up the chalk line with the 1 inch line on the ruler.  Just continue doing this for all the lines.  across both pieces.  


  • After finishing lines going in the same direction,  I recommend that you go ahead and quilt the lines on the sewing machine.  I like to use a decorative stitch on my machine.  
  • When you complete both pieces with quilting, you will go ahead and do the same thing using your marker to make marks going in the alternate direction at 45 degrees.   Then follow by quilting those lines, as well.  


  • When you are done, it will look something like this.  (See above)  After you finish all of the quilting for both pieces you may need a coffee break!   Our next step will be to add binding to both portions of the insulated food carrier.    You will need to get your binding pieces that you made in Part 2 of this project.

Handle section piece:
  • First, at the top area of the handle section, you will lay the folded binding onto your handle section as is   shown above.  We will be attaching the binding to all of the outer edges EXCEPT the inner handle cut-out area.  That will require a different process due to needing to make a pocket for the dowels to be placed into.  


Pin the binding with the raw edge matched to the raw edge on the piece we are working with.  Take care to make sure that you start at the cut-out handle area. (See above picture)


Next, you will use a needle and thread and baste the binding to the handle section piece.  Stop your basting at the corner.

This picture above shows what we are aiming for when we miter corners.  Now for the instructions for the corner....
This is how we begin.  Remember, you basted to the corner...  Now, lay the binding upwards away from your handle section piece.  This will START your miter.  

  • Now, hold that in place and turn down the binding back lined up with the other edge (left side above).  You can see that little "dog ear" that is created.  
  • Now, you will use your needle, make a stitch downward through the handle section near the corner (upper edge) and bring the needle up carefully just a bit over from that "dog ear" and continue to baste the binding along the left side edge.  
  • You will continue to baste all the way down to the other corner.  Then, treat the other corner the same way to make another miter prep (dog ear). 
  • When you come to the edge of the "cut-out handle" area.  You will tie off your thread and knot your basting by taking a couple of stitches in the same spot.  
  • Then, cut off the binding strip at the edge of the "cut-out handle" area.   Next do the same thing for the other side of the handle section piece.  
BINDING FOR THE FLAP SECTION PIECE:  

When beginning to pin the binding for the flap section piece, leave a 7 to 8 inch tail of binding free when you begin pinning/basting the binding to the flap piece.  See picture below:

  • Continue pinning/basting around the piece.  When you have basted around the quilt and are approaching the beginning point, STOP!  
  • Leave a space of 10 to 12 inches between the binding beginning and binding ending.  You will have TWO tails of binding hanging from that opening area.  
  • When we are ready for the final step in Part 4 - we will show you how to finish off the binding.  

THE CUT-OUT HANDLE AREA WILL BE DONE IN PART 4 OF OUR BLOG PROJECT #2, AS WELL AS THE FINISHING OF THE BINDING ON THE FLAP SECTION .  THE HANDLE CUT-OUT AREA REQUIRES SPECIAL TREATMENT DUE TO NEEDING TO INCLUDE A SPECIAL POCKET FOR THE WOODEN DOWELS.  Stay tuned for Part 4 soon! 


Wednesday, October 5, 2011

Insulated Food Carrier 
Part 2

First, set aside your flap pieces that you worked on previously in Part 1.

Next, we will work with the handle sections.  I have chosen a coordinating fabric simply because I was using what I had in my fabric stash.  

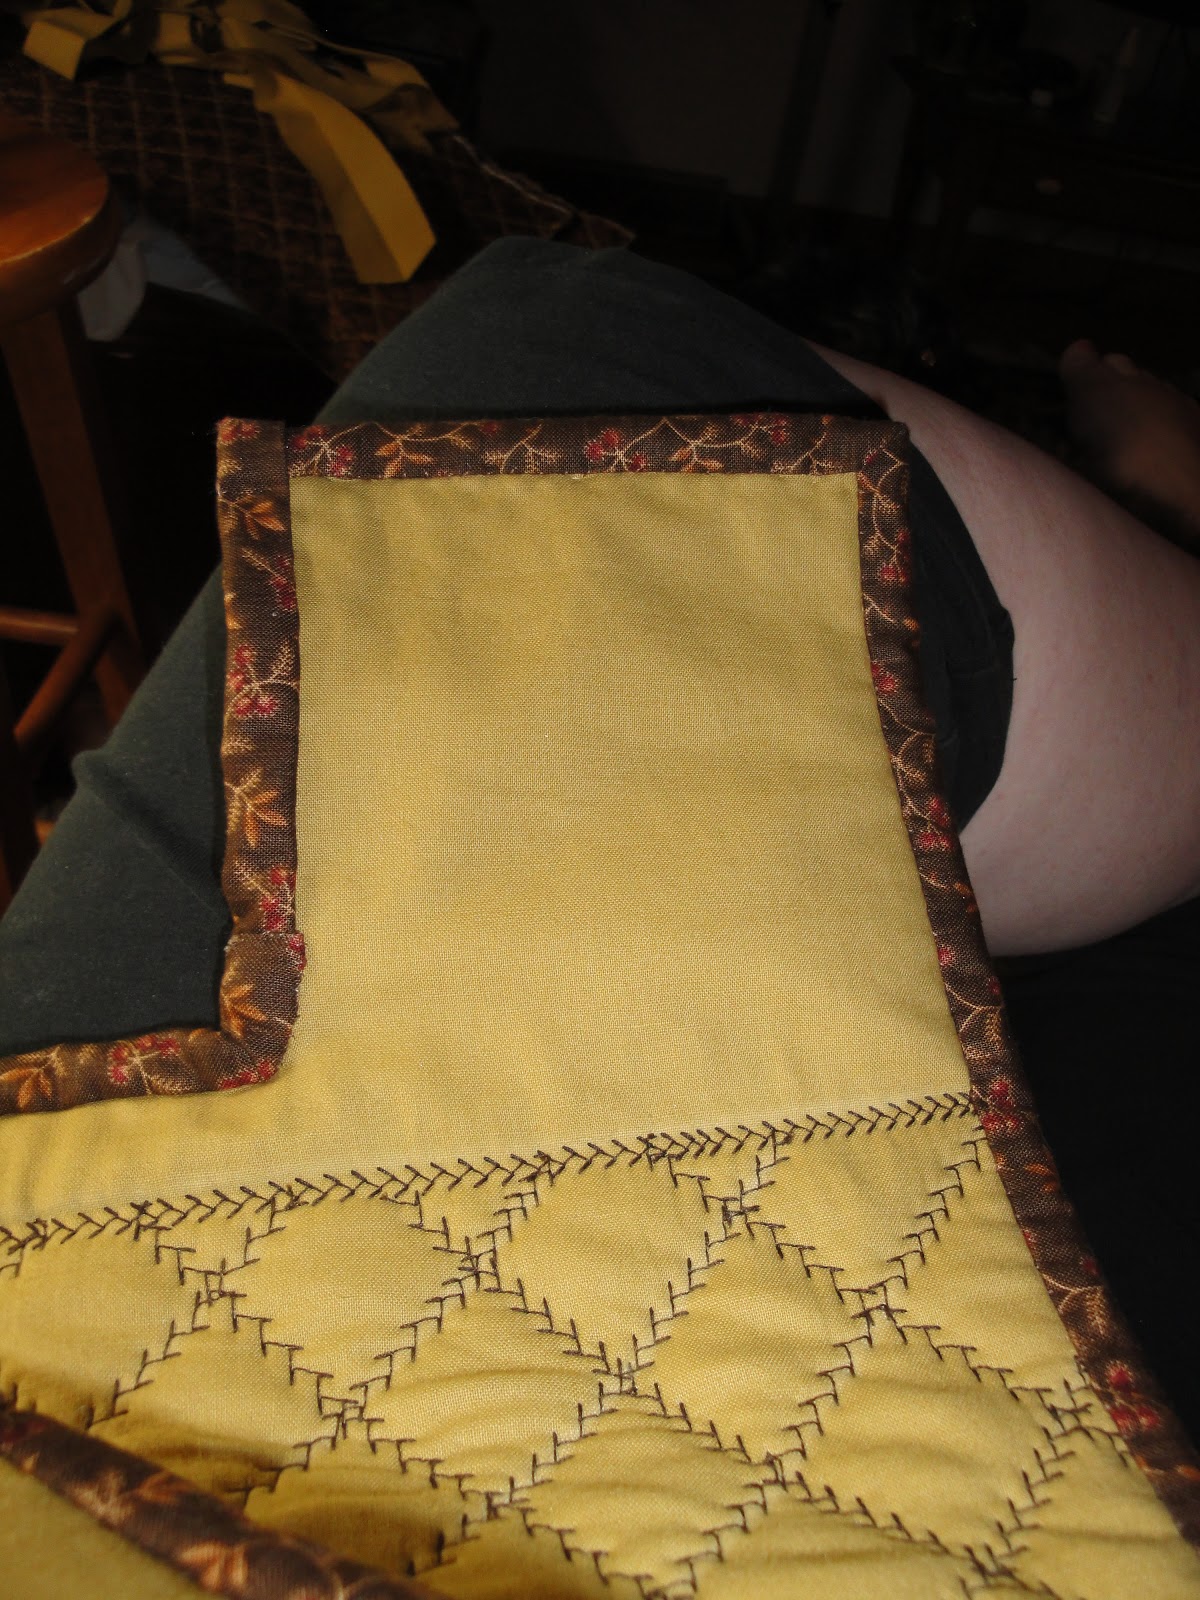
On the handle sections (30"x15" pieces) you will simply do the same thing, by attaching (I did this by using my sewing machine with a walking foot, but you can simply use needle and thread and baste the Insul-Bright to the WRONG SIDE of each handle section of fabric (Add Insul-Bright to both pieces).  Following that I simply placed the WRONG SIDES TOGETHER (yes, both pieces of Insul-Bright will be facing and touching each other) and basted them together.  When you have completed these steps your handle section will look like the picture above.


Next, you will cut the short ends of the handle section so that you will be able to insert the wooden dowels later.  Both ends will be cut to the dimensions shown above.  (You can click on the picture for a larger view.)

SET ASIDE YOUR HANDLE SECTION.  

Next, we will be making binding strips for both the flap sections and the handle sections of the insulated carrier.  I will be using the opposite fabric to make binding strips to unify the contrasting fabrics.  First, lay your folded fabric on the table with the fold towards you and the selvages away from you. 

If you have a plastic ruler and rotary cutter, the next step is very simple.  However, a plastic ruler and rotary cutter is NOT necessary!!  I will explain how you can use simple tools to suffice.  

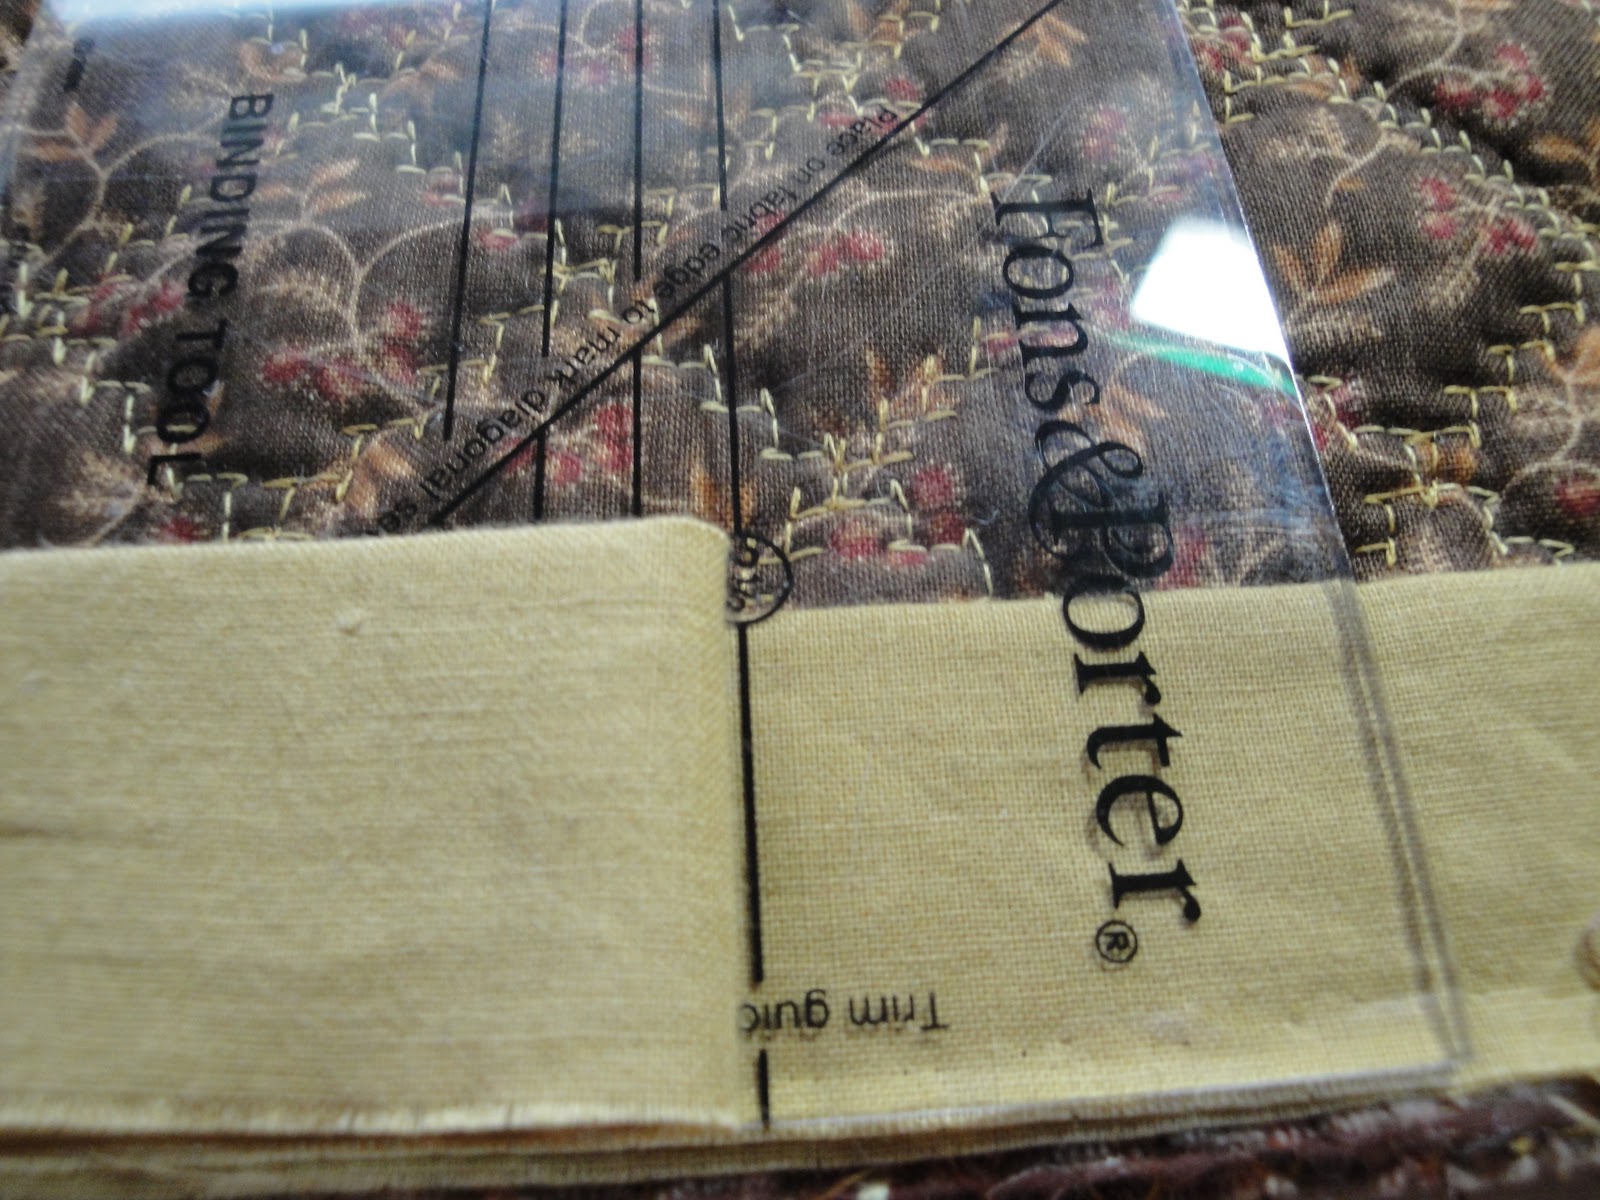
If you have the plastic ruler (I like Omnigrid rulers), line up the 2 1/2 inch line along the STRAIGHT edge of the fabric on the left side (line up and cut off the edge of the fabric if it is not straight PRIOR to cutting this strip)  

If you do not have the ruler and rotary cutter, simply use a pencil or chalk or some kind of marking tool and use a tape measure and mark over 2 1/2 inches in several spots so you can line up the marks with a yardstick or similar straight edge.  Mark along the straight edge with your marking tool (pencil, or ?) and then cut carefully with a pair of scissors along the line you've marked.   You will need to make about 5 of these 2 1/2 inch strips.

Next, cut off your selvage edges.  


Now, lay one strip in front of you on the table like this. (See above)


Next, lay another strip RIGHT SIDES TOGETHER, as shown above.


Next, you will mark a line from the left upper edge to the right lower edge of the overlapping area.  VERY IMPORTANT!!! - THAT YOU FOLLOW THIS CAREFULLY, OR YOUR PIECE WILL NOT RESULT IN A STRAIGHT STRIP.   


Cut the seam allowance to approximately 1/4 to 1/2 inch wide. Open out the edges and press the seam allowance open.  When you have completed these steps your strip will be connected and look like this below.  Continue to do the same steps for all the strips until you have one long strip 2 1/2 inches wide.


Next, you will go to your ironing board, as you can see above, I've done the same thing for my alternate color strips.  (Yes, you would be doing 5 more strips like the ones you just completed)  As you can see, the completed strip is laying on my ironing board lengthwise.  Next, I'm going to fold over the bottom edge and line up the top edges (wrong sides together) and press with my iron.

In summary, you should now have binding strips for both the handle section and the flap section of your insulated food carrier.  In Part 3, I will demonstrate how to quilt the handle and flap sections (if you wish), finish the edges, connect the parts, and add the dowels.  Stay tuned for Part 3 within the next day or so.