Fleece Flower Project
Part 3

- For the flowers, I used pinking scissors. If you do not have pinking scissors, use regular scissors. They will work just fine. I kept it very simple, using the flower pattern as a guide for length, I simply cut squares approximately the same length. I simply rounded off the edges and cut a circle.

- Here is my little rounded flower base.

- Then, I simply did the same thing, with smaller squares, rounded off into circles.
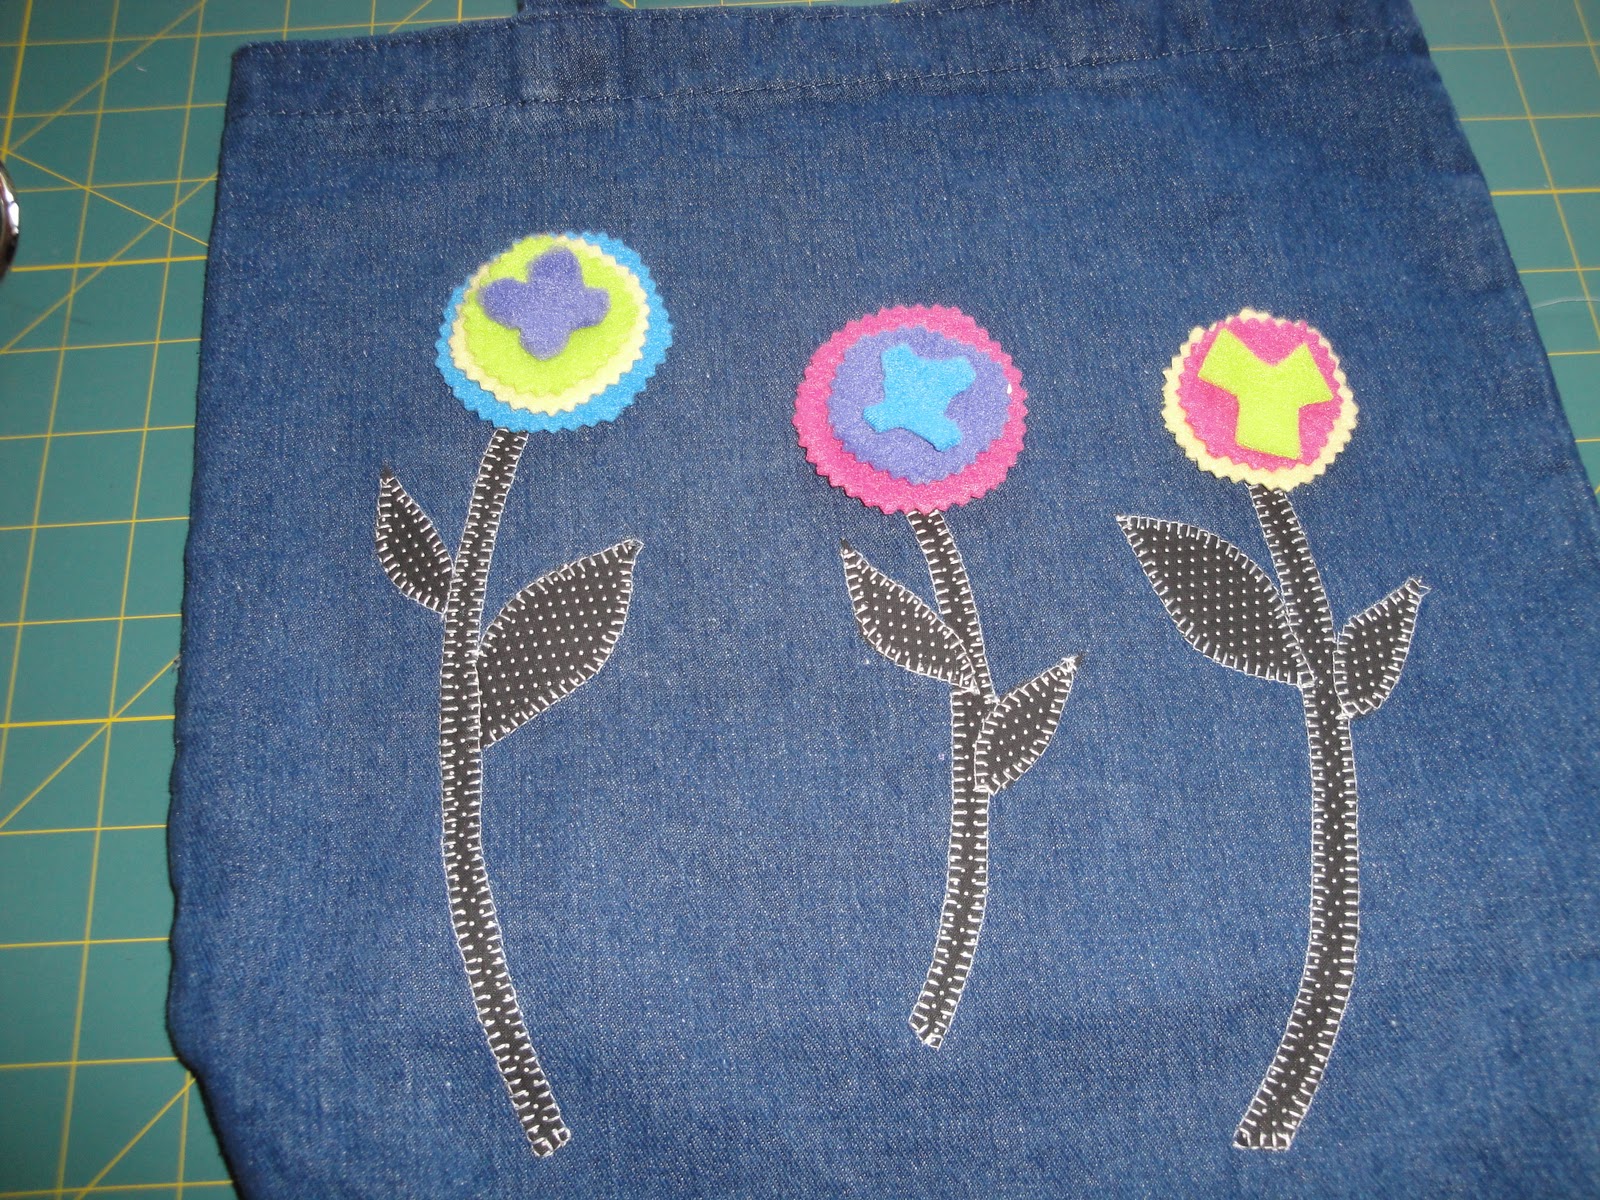
- As you can see, using my scissors, I just played with the shapes and colors until I had the flowers that I wanted.

- Then, I selected some buttons that made a nice contrast to the colors in the flowers.

- Putting the button on top, I audited my flowers until I was satified with the colors and shapes. Following this, my camera battery died!! : ) So, I will simply complete the instructions by explaining that I used black thread, because I liked the contrast. I threaded my needle and knotted it as a double strand of thread. This will enable the flowers to be firmly anchored to the tote bag. I simply hand stitched the flower unit to the tote bag, as if it were a button. Following the repeated stitches, I knotted the end by sewing several tiny stitches over and over on the wrong side of the fabric, inside the bag. I repeated this with the other two flowers. Voila!! A simple little bag with some pizzazz!! Hope you enjoyed our first little "Daisy project"!
No comments:
Post a Comment